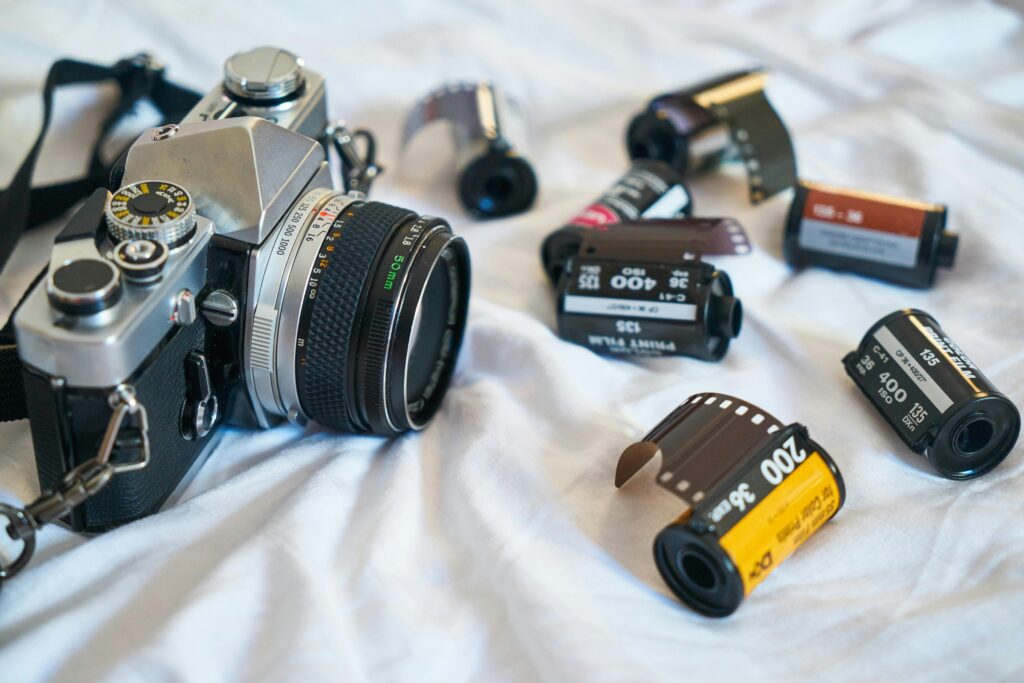
Unlock the secrets of ISO ratings and film speeds in photography. Learn how to choose the right ISO for stunning shots in any lighting condition.
Introduction
Lights, camera, ISO! Wait, what? If you’re scratching your head at that last part, you’re not alone. ISO ratings might seem like a mysterious code in the world of photography, but I’m here to crack it wide open for you.
Did you know that the term “ISO” actually stands for “International Organization for Standardization”? Talk about a mouthful! But don’t let that intimidate you. As a photography enthusiast who once thought ISO was a type of exotic fish, I can assure you that understanding film speeds and ISO ratings is easier than you think.
And trust me, it’s a game-changer for your photos. Ready to take your photography skills from “meh” to “wow”? Let’s dive into the fascinating world of ISO and unlock the secret to stunning shots in any light!
What Is ISO in Photography?
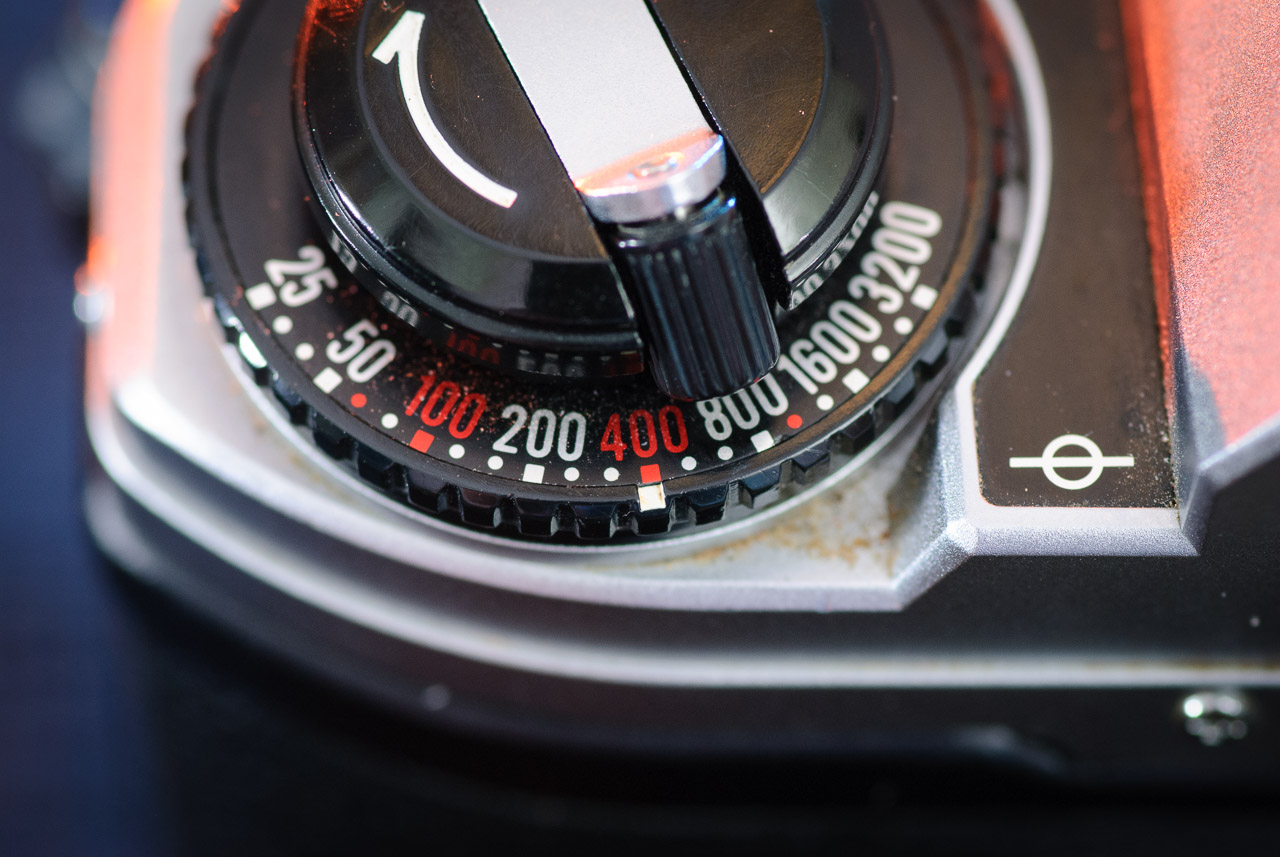
ISO is a key element in photography that measures how sensitive your camera’s sensor is to light. It’s like adjusting your eyes to see better in different lighting conditions. The term ISO comes from the International Organization for Standardization, which set the standards for film sensitivity back in the day.
In the film era, ISO referred to how quickly the film would react to light. Higher ISO films were more sensitive and great for low-light situations, while lower ISO films were less sensitive and perfect for bright conditions. Today, with digital cameras, we can change the ISO setting for each shot, giving us much more flexibility.
ISO is part of the exposure triangle, along with aperture and shutter speed. These three elements work together to create a well-exposed photo. When you increase the ISO, you’re telling your camera to be more sensitive to light, which allows you to use faster shutter speeds or smaller apertures.
However, there’s a trade-off. As you increase ISO, you might notice more ‘noise’ or graininess in your images. It’s like turning up the volume on a radio – you hear more, but you also get more static. That’s why understanding ISO is so important for getting the best image quality in different situations.
Breaking Down ISO Numbers: What Do They Mean?
ASA (now ISO) numbers on film might seem mysterious at first, but they’re actually straightforward. Common film speeds are 100, 200, 400, 800, and so on. Each step up doubles the film’s sensitivity to light.
Here’s a simple way to think about it: ISO 200 film is twice as sensitive to light as ISO 100. ISO 400 is twice as sensitive as ISO 200, and four times as sensitive as ISO 100. This doubling pattern continues as the numbers go up.
When you double the ISO , you’re effectively doubling the exposure. So, if you’re shooting at 1/60th of a second with ISO 100 film, you could get the same exposure at 1/120th of a second with ISO 400 film. This is really helpful when you need a faster shutter speed to freeze action or when you’re shooting in low light.
Most films have a specific ISO rating, which is where the emulsion performs best. Some photographers “push” or “pull” film, essentially under or overexposing and then compensating in development. While these techniques can be useful in certain situations, they often come with changes in grain structure and contrast.
Slow Film vs. Fast Film: When to Use Each
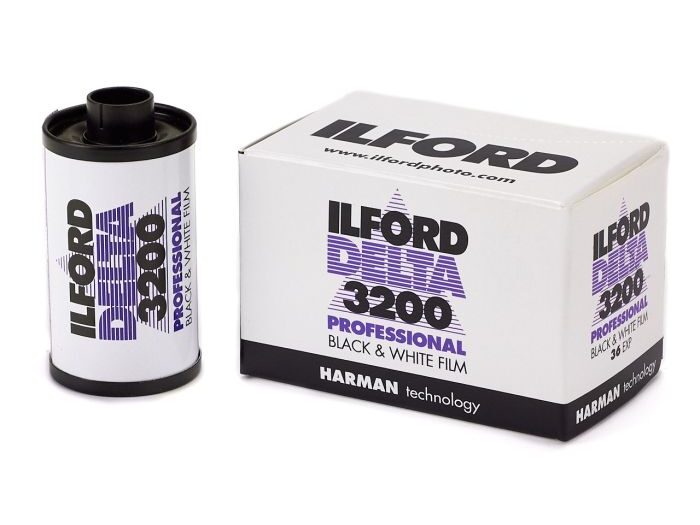
Slow films, typically around ISO 100 or 200, are your go-to for bright conditions or when you’re using a tripod. They give you the cleanest, most detailed images with the finest grain. Think of a sunny day at the beach or a landscape shot where you want to capture every little detail – that’s when you’ll want to use slow film.
Fast films (high ISO) come into play when light is scarce. If you’re shooting a concert, trying to capture street scenes at night, or just in a dimly lit room, you might need to use ISO 800, 1600, or even higher. The trade-off is that you’ll likely see more grain in your images, but sometimes that’s better than a blurry or underexposed shot.
The key is finding the right balance. If you’re hand-holding your camera in low light, you might need to use a faster film to get a quick enough shutter speed to avoid camera shake. But if you can use a wider aperture or a slower shutter speed (maybe with a tripod), you might be able to use a slower film.
Remember, it’s all about the exposure triangle. If you use a faster film, you can use a faster shutter speed or a smaller aperture. It’s like a see-saw – when one goes up, the others can come down.
The Impact of ISO on Image Quality
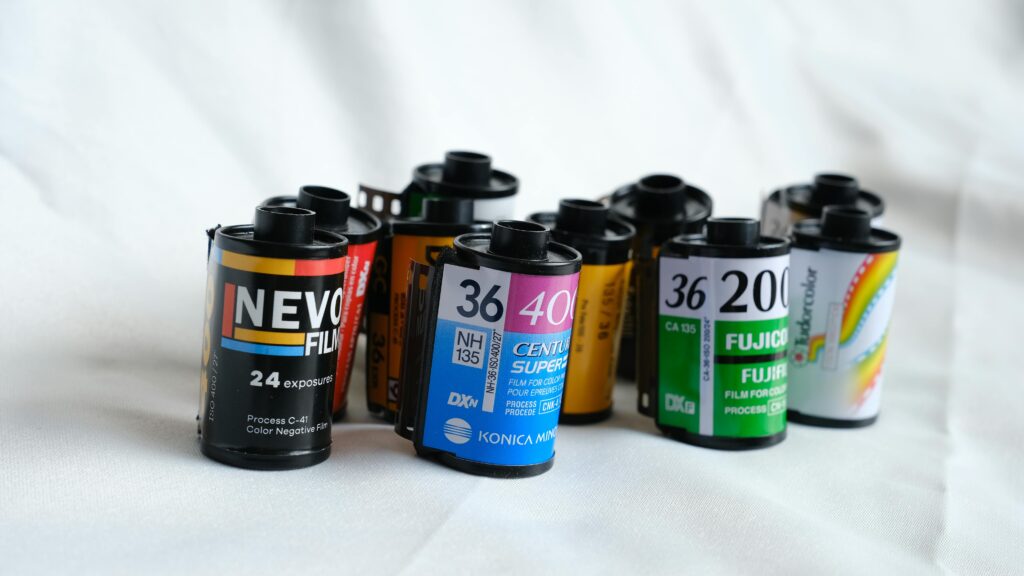
As we increase film speed, we start to see more grain in our images. Grain looks like tiny specks, especially noticeable in the darker areas of the photo. Unlike digital noise, film grain can often be quite pleasing to the eye, adding character to the image.
High-speed film doesn’t just affect grain levels. It can also impact color saturation and contrast. Colors might not be as vibrant, and you might see a slight decrease in overall contrast.
To see how film speed affects your images, try this: shoot the same scene with different speed films. Start at ISO 100 and double it each time (100, 200, 400, 800, etc.). When you get your developed photos back, compare the details, especially in shadow areas. You’ll likely see more grain as the film speed increases.
But don’t be afraid of fast film! Many photographers love the aesthetic of grain. Plus, there are ways to work with grain:
- Choose films known for their pleasing grain structure
- Expose your image correctly – underexposed images often show more pronounced grain
- Use prime lenses with wide apertures to let in more light
- Learn each film stock’s characteristics – every film handles differently
Film Speed Performance in Different Camera Types
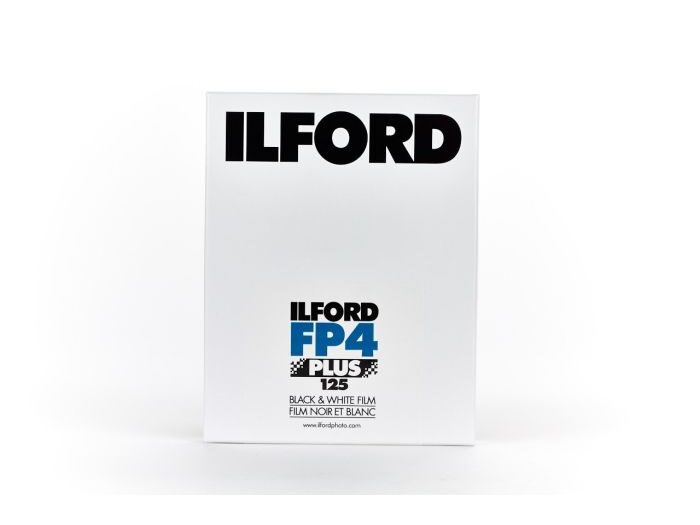
Different types of cameras can affect how film speed manifests in your images. Generally, cameras with high-quality lenses and precise metering systems can help you get the most out of your film, regardless of speed.
Range finder cameras, like the iconic Leica, are often praised for their ability to produce sharp images even with high-speed film. This is partly due to their lack of mirror mechanism, which reduces camera shake. SLRs, while versatile, may introduce slight vibrations that can be noticeable with slower shutter speeds.
Medium and large format cameras, due to their larger negative sizes, can often use higher speed films while maintaining exceptional detail and minimizing the appearance of grain. This is why many photographers prefer these formats for low-light situations where they need to use faster film.
Film technology has advanced significantly over the years. Modern high-speed films perform much better than their predecessors, offering finer grain and better color reproduction. Films that once maxed out at ISO 400 have been replaced by stocks that can reach ISO 3200 or higher with impressive results.
If you’re curious about how different films perform at various speeds, there are many comparison articles and forums where you can see sample images. But remember, the best way to know a film’s characteristics is to shoot it yourself in real-world conditions.
Advanced ISO Techniques for Better Photos
Push processing can be a useful technique when you need extra speed from your film. By intentionally underexposing the film and then extending the development time, you can effectively increase the film’s speed. For example, you might shoot an ISO 400 film as if it were ISO 800 or 1600. This technique can add contrast and grain, which might be desirable for certain aesthetic choices.
Pull processing is the opposite – overexposing the film and then underdeveloping. This can be useful for reducing contrast in high-contrast scenes, though it’s less commonly used than pushing.
For challenging lighting situations, you might consider using two camera bodies loaded with different speed films. This allows you to quickly switch between slow and fast film as the light changes.
When shooting in mixed lighting conditions, consider using films specifically designed for versatility across different light temperatures, like Kodak Portra. These films can handle a range of lighting situations while maintaining consistent color rendition.
Developing and Film Speed: Managing Film Speed-Related Issues
Even if you end up with a grainy high-speed film image, all is not lost! The development process can help manage grain. For example, using certain developers or dilutions can help minimize grain in higher speed films.
When printing in the darkroom, you can use techniques like split-grade printing to manage contrast in high-speed film shots. Using a lower contrast filter for shadows and a higher contrast filter for highlights can help balance the overall image.
Some photographers embrace grain as a stylistic choice, especially for black and white images. It can add a gritty, atmospheric quality to images. So don’t always think of grain as the enemy – sometimes it can be your artistic ally!
Choosing the Right Film Speed for Different Photography Genres
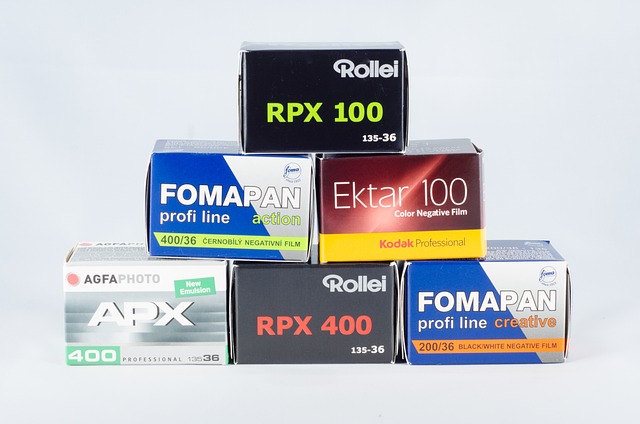
In landscape photography, you’ll usually want to use slower speed films for maximum image quality and fine detail. Since you’re often using a tripod, you can afford longer shutter speeds and don’t need faster film.
For sports and action photography, you often need very fast shutter speeds to freeze motion. This might mean using faster films, especially if you’re shooting indoors or in less than ideal light. ISO 400 is often a good starting point, but you might go higher if needed.
Night photography often requires very high-speed films. It’s not uncommon to use ISO 1600 or 3200 film when photographing cityscapes at night or attempting to capture stars. In these situations, noticeable grain is usually acceptable if it means capturing the shot.
In studio photography, you have full control over the lighting, so you can usually use slower speed films. Many studio photographers stick to ISO 100 or 200 for the finest grain and highest possible detail.
Remember, these are just guidelines. The best film speed is the one that gets you the shot you want. Don’t be afraid to experiment and push your film’s limits. After all, a grainy photo is better than no photo at all!
Conclusion
And there you have it, folks – the mystery of film speeds unraveled! From understanding the basics to mastering advanced techniques, you’re now armed with the knowledge to choose film speeds like a pro. Remember, selecting the right film speed is all about balancing light sensitivity with image quality and grain.
Don’t be afraid to use those high-speed films when the situation calls for it – a slightly grainy photo is better than a blurry one! As you practice, you’ll develop an intuition for the perfect film speed in any scenario. So, what are you waiting for?
Grab your camera, load up some film, and start experimenting with different speeds. Who knows? Your next roll might just contain your masterpiece. Happy shooting, and may the light be ever in your favor!